Natural Light – Weekly Extra
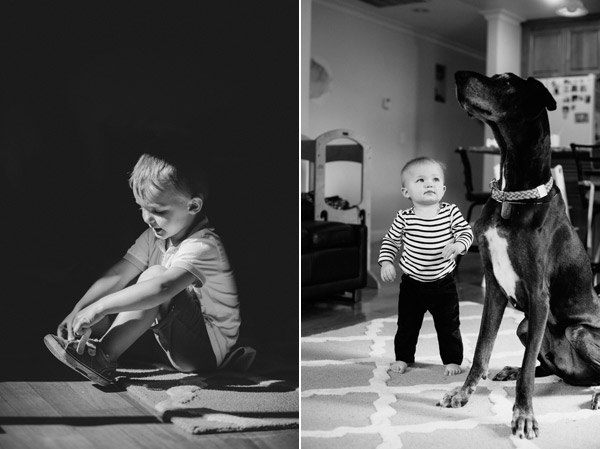
This article talks about how to properly use natural light in your photos, by supplying the reader with tips and other examples of taking photos with natural light. The article compares direct light with nondirect light, and how it puts the subject as the center of attention for the photograph. It also talks about how light bounces off of subjects and how to position the subject the proper way so it bounces off in an attractive way.
The author talks about her own experiences with using natural light, saying ”
When considering the areas in a space that might act as good staging areas for photographs, think about what direction the window faces, what nearby structures might be blocking it, and the type of lighting you want in your image. This is the starting point that will help you determine the ideal shooting time on a sunny day.
The window I’m using to demonstrate the way the light changes in my living room is almost floor-to-ceiling, faces southwest, has no awning directly over it, and has a house positioned south of it. All of these are important because they determine the amount time the room has direct light and the way the bounced light enters the room. It is important to note that there are other windows in the room I am using, which prevents the images below from being entirely backlit.
My first image was created at 11:30am in March, in a home in Northern California. Remember that the time of year and daylight savings time can affect the optimal time for photographing in a given area. The visible areas of most items in the room are pretty evenly lit. There isn’t much depth to the image, but this is the light I would want to use if I’m trying to sell my house and want to be able to show clearly what everything looks like.”
URL: http://www.nyip.edu/photo-articles/archive/using-natural-light-in-photos
